

Setting up a small DNS server for your Homelab
Setting up a small DNS server for your home lab Setting up a small DNS server for your Homelab is actually quite simple.

This post is from 2021. It stays online because people still look for it, but it describes the products as they were then.
Setting up a small DNS server for your home lab
Setting up a small DNS server for your Homelab is actually quite simple. With the release of vSphere 7, the VCSA (vCenter Server Appliance) requires a DNS server for setup. While some earlier versions allowed only IP deployments, with the latest versions you can’t set up your environment without a DNS server.
I was setting up a new Homelab environment running everything on my Macbook in VMware Fusion when I stumbled across this change in vSphere 7. So how did I go about it? I decided to set up a small Ubuntu server VM running bind9.
I thought about running this as a Docker container, as the reason for setting up a new vSphere home lab in the first place was to learn more about all the benefits of vSphere with Tanzu that are included in the latest vSphere releases. But since I’m not that familiar with Docker and containers yet, I chose a path I know well to quickly cross that requirement off my list.
Step One:
Download the latest Ubuntu server Image from the official Ubuntu Repo (from https://ubuntu.com/download/server): 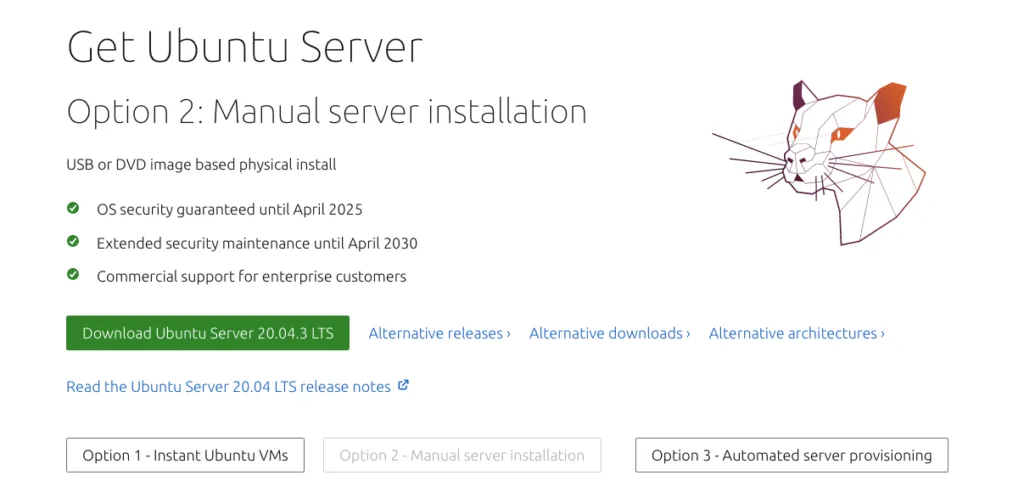
Step Two:
Create a custom VM in VMware Fusion (or Workstation if you are on a Windows machine) and attach the downloaded Ubuntu server ISO and follow the wizard:
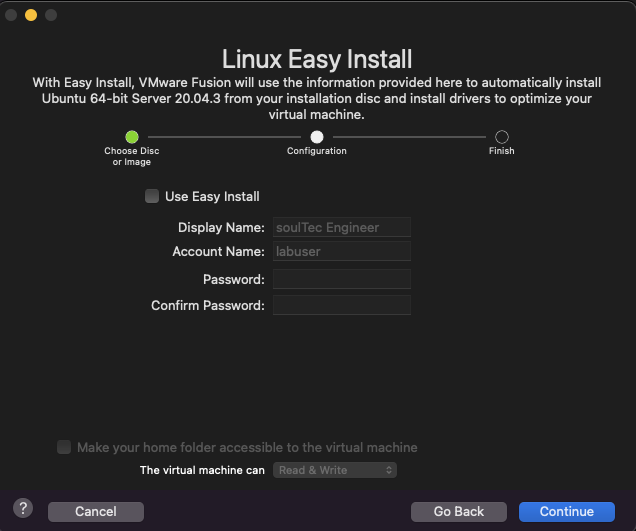
I chose not to use easy install because it has been ages since I had installed Ubuntu server manually.
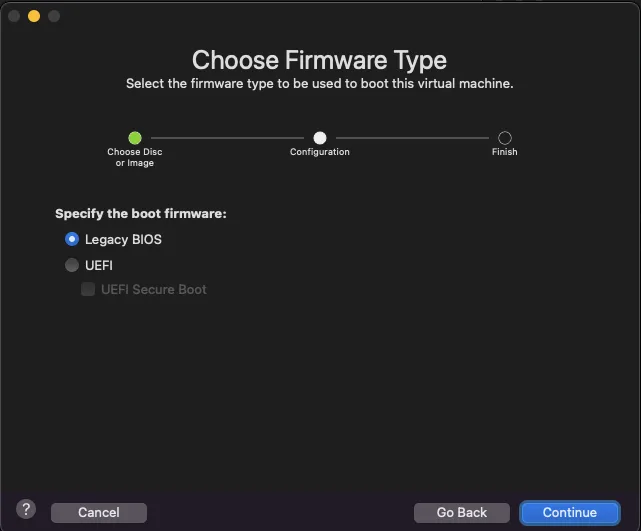
I left the default setting at “Legacy BIOS”.
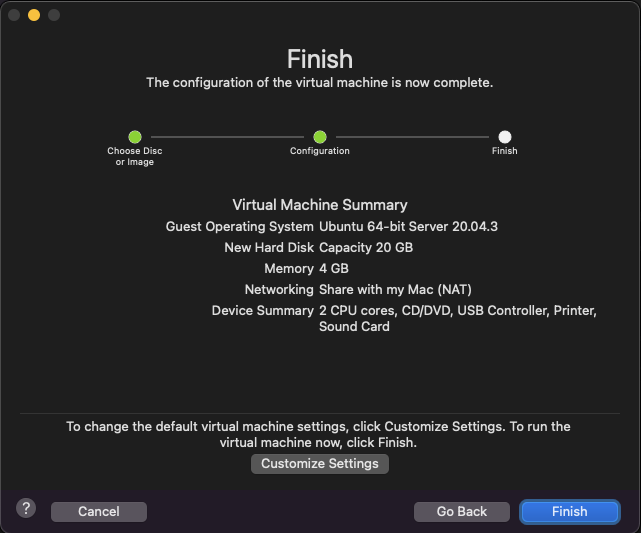
These are the default settings for an Ubuntu server. If your homelab is short on ressources you can decrease the amount of RAM down to 1GB.
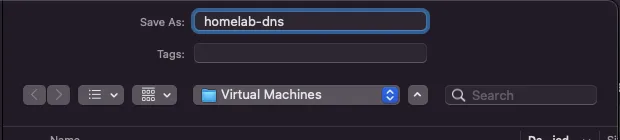
After clicking on “Finish” you will be asked what to name the VM. I chose to name mine “homelab-dns”.
Step Three:
Install Ubuntu server
I won’t go into detail about the installation process as it is simple. I pretty much left everything at default settings and only installed openssh server to connect to the server with the terminal app.
Step Four:
Install BIND9 on your Ubuntu Server
I chose BIND9 as DNS server because it’s a pretty widely used DNS server and you can quickly find help for it if you get stuck. To install it, I connected to my Ubuntu server “homelab-dns” and entered the command:
sudo apt-get install bind9After the installation has completed we need to configure BIND
Step Five:
Configure BIND
The first file we’ll edit is the /etc/bind/named.conf.local
// Forward Zone
zone "virtual.lab" {
 type master;
 file "/etc/bind/zones/virtual.lab.db";
};
// Reverse Zone
zone "108.16.172.in-addr.arpa" {
 type master;
 file "/etc/bind/zones/rev.108.16.172.in-addr.arpa";
};
This tells BIND where to find the actual lookup files.
Next up are the the mentioned files from above. We’ll create the directory “zones” and create the files we configured.
mkdir -p /etc/bind/zonesThen we’ll create the first file with your preferred Editor (mine is VIM)
vim /etc/bind/zones/virtual.lab.dbAnd here we’ll add our Forward lookup entries:
$TTL	86400 ; 24 hours / 1d
; $TTL used for all RRs without explicit TTL value
$ORIGIN virtual.lab.
@  1D  IN  SOA dnsserver.virtual.lab. hostmaster.virtual.lab. (
			      2002022401 ; serial
			      3H ; refresh
			      15 ; retry
			      1w ; expire
			      3h ; minimum
			     )
virtual.lab.      IN      NS              dnsserver.virtual.lab.


dnsserver    IN  A      172.16.108.53
vcsa    IN  A      172.16.108.2
esxhost1  IN  A      172.16.108.3
esxhost2  IN  A      172.16.108.4
Afterwards we’ll create our reverse lookup zone file:
vim /etc/bind/zones/rev.108.16.172.in-addr.arpaAnd here we’ll add our reverse mapping:
@ IN SOA virtual.lab. admin.virtual.lab. (
                        2006081401;
                        28800;
                        604800;
                        604800;
                        86400
)

           IN    NS     dnsserver.virtual.lab.
53         IN    PTR    virtual.lab
2	   IN	 PTR	vcsa
3	   IN	 PTR	esxhost1
4	   IN	 PTR	esxhost2
Step six:
restart BIND and check your files
As a final command we’ll need to restart BIND in order for it to use the new configuration:
sudo service bind9 restartAnd optionally you can check if your files are properly configured:
named-checkzone virtual.lab /etc/bind/zones/virtual.lab.db
named-checkzone 172.16.108.0 /etc/bind/zones/rev.108.16.172.in-addr.arpa
Conclusion:
And that’s it. You have set up a small DNS server for your Homelab. If you have any questions, feel free to reach out to me or leave a comment. Next up, I’ll be looking at VMware Tanzu and containers, and I’ll be publishing another post where I do the exact same thing with a lightweight Docker container.